WIDE RAINBOW CONNECTS
Our (free) educational DIY video workshop series. Meet artists in their studios or at home and recreate artworks inspired by their unique practice. Let’s make art with artists!

Allison Simon
Our beloved Meditation & Movement Instructor Allison Simon joins us from her studio in South Los Angeles and closes out the school year with a meditation on gratitude. Gratitude for simply existing. Let's all find a comfortable place, slow down, take a few breaths, and bring to mind something or someone that you're grateful for.
Wide Rainbow Wellness:
Meditation on the Breath w/ Alli Simon
Link to Share : https://youtu.be/6TnKtApDj1s
May you be happy
May you be healthy mind & body
May you be safe& protected
May you be filled with love & live with ease
- Alli Simon

Anna Sew Hoy
Artist Anna Sew Hoy joins us from her studio in Eagle Rock, Los Angeles with an introduction to her multifaceted art practice and look at some recent cage sculptures made of clay & found objects along with drawings and other transformative works of art...
“I am Interested in freedom, and I am against boredom.”
– Anna Sew Hoy

Allison Simon
Our beloved Meditation & Movement Instructor Allison Simon joins us again from her studio in South Los Angeles. Alli invites us to notice the life and Sounds that are always happening around us. Let's find a comfortable place to rest and come to stillness with a deep inhale in, and exhale out…
Wide Rainbow Wellness:
Meditation on the Breath w/ Alli Simon
Link to Share: https://youtu.be/sdXmc7KUAXo


Allison Simon
Meditation & Movement Instructor Allison Simon joins us once again from her studio in South LA. Alli encourages us to be present and focus on the Breath. Let’s find a comfortable place to rest and start our practice with a deep inhale in, and soft exhale out…
Wide Rainbow Wellness:
Meditation on the Breath w/ Alli Simon
Link to Share: https://youtu.be/gCiVgFrKB5Y

Emma Palm ♫
Musician & multimedia artist Emma Palm (No Translation) invites us out west to the desert in Joshua Tree, California to do some field recordings and learn how she creates ambient soundscapes. Follow along and be inspired as Emma shares a special performance with us while she transforms the everyday into a beautiful piece of music.
MATERIALS
field recordings
synthesizers
voice
INSTRUCTIONS
1. Record your surroundings
2. Use audio software to edit recordings
3. Get creative & add effects!
Listen to more of Emma’s music and ambient soundscapes : www.no-translation.bandcamp.com

Allison Simon
LA based Meditation & Movement teacher Allison Simon asks us to open our hearts, spread the love, and take a moment for a little self-care and Compassion with three simple words : I Love You
Wide Rainbow Wellness:
Compassion ♡ Meditation w/ Alli Simon
Link to Share: https://youtu.be/zvPHqd-WIWA

Shirley Villavicencio-Pizango
Peruvian born portrait artist Shirley Villavicencio-Pizango invites us to her studio in Ghent, Belgium where she finds inspiration for her paintings through the spontaneity of print making! Let’s follow along and learn how to make a monoprint together!
MATERIALS
glass plastic
block printing ink
paper roller
pen
INSTRUCTIONS
Let’s make a monoprint!
1. Spread block printing ink on plastic
2. Roll ink on glass
3. Place paper on the glass
4. Write (in reverse) and draw on the paper
5. Lift the paper to see your monoprint!
Try making a card with the same technique ;)

Allison Simon
Let's take a deep breath and calm The Mind with LA Based Meditation & Movement teacher Allison Simon.
Wide Rainbow Wellness:
Mindful Meditation w/ Alli Simon
Link to Share: https://youtu.be/kAaekRxoN_I

Frida Orupabo
Artist Frida Orupabo welcomes us into her home & studio in Norway where she shares her collage practice with us moving from digital source material to sculptural works of art. Let’s follow along and create our own collage inspired by Frida.
"My work is a way of sorting things, sorting emotions and thoughts I have. It's a way of speaking..."
- Frida Orupabo
MATERIALS
source images
scissors
printer
paper
pins
INSTRUCTIONS
Let’s make collage works of art!
1. Collect images
2. Use a digital collage as the base
3. Print it out & tape a base
4. Layer pieces with rolled tape
5. Pin pieces together

Alli Simon
We are thrilled to welcome back meditation & movement instructor Alli Simon who joins us this new year from her studio in South Los Angeles with a special series of guided meditations each month through the rest of the 2021/2022 school year. From January through June, we will tune into our mind, body, & breath with sound, compassion, and gratitude…
Let’s take a deep breath and become more aware of our bodies while we follow along as Alli moves us through our first meditation on Body Awareness
Wide Rainbow Wellness:
Body Awareness Meditation w/ Alli Simon
Link to Share: https://youtu.be/zhwioAeTYCc

Akiko Jackson
Visual artist Akiko Jackson welcomes us into her Philadelphia studio and shares her large scale sculptures & installations made of wool! She invites us to create with her fabric medium and takes us step-by-step through a simple ‘wet-felting’ workshop…
MATERIALS
wool
soap
empty water bottle
plastic or packing material
fine mesh aka tulle
bucket of lukewarm water
INSTRUCTIONS
Let’s get creative with wool!
1. Set up your waterproof surface
2. Pull apart wool
3. Crosshatch the fibers
4. Lay fine mesh on top of wool
5. Fill water bottle with water and a little soap
6. Cover your project with the soapy solution
7. Push mesh down onto the wool
8. Rub!
9. Roll up the wool and fine mesh
10. Check your progress and roll again
11. Rinse
12. Rip away the mesh
13. Rinse some more
14. Slam felt against working surface
15. Flatten fabric
16. Air dry the fabric!

Chantal Joffe
Renown figurative artist Chantal Joffe invites us to her studio in London to follow along as she creates a special collage self-portrait. Let’s take inspiration from Chantal as she realizes a simple, beautiful, and inspiring work of art. All you need is glue, scissors, and paper!
“There are no rules and that's the beauty of it!”
- Chantal Joffe
MATERIALS
photo
glue
water
paint brushes
color paper
newsprint
INSTRUCTIONS
Let’s make a collage portrait!
1. Choose paper and size
Draw with the scissors
2. Start by cutting out the head shape
3. Glue down your head
4. Add the eyes
Let my mind float free of the image
5. Add the nose
6. Cut out pieces for hair
7. Place & glue down hair
8. Add a line for your face
9. Add eyebrows
10. Start working on the body too
11. Add an arm
I prefer the randomness of shapes
12. Add a mouth
13. Continue to look back to your image
14. Add clothes for the body
15. Add your hands
16. Finish up when you think you’re done. It’s endless…
Have fun!

Leslie Diuguid / Du-Good Press
Leslie Diuguid of the first and only Black female owned fine art screen printing business in New York, Du-Good Press invites us to Brooklyn to share her personal history, printing practice, and community driven business supporting artists, designers, and sustainability that all began in her bedroom...
Learn more about Du-Good Press and how you can support Leslie’s extraordinary vision & expansion by visiting her GoFundMe: www.gofundme.com/f/support-dugood-press-expansion
*Special thanks and shout out to Waylon Bone & Greg Navarro for the making of this video

Aya Takano
Japanese painter, illustrator, sci-fi writer & manga artist Aya Takano opens her heart and her studio with us for an intimate tour of her new paintings as she prepares for her upcoming exhibition in Hong Kong…

Ad Minoliti
Artist Ad Minoliti (and her dog Max) join us from Buenos Aires, Argentina for a simple, but whimsical gardening workshop where Ad invites us to go outside, consider the native plants we have around us, and to rethink every day advertisements while we create our own artful objects and gifts for others!
MATERIALS
can
nail
hammer
plant
soil
paper
ruler
pencil
stencils
markers
cut-outs
tape
INSTRUCTIONS
What if some rules of society are different?
1. Hammer holes into the bottom of a can
2. Fill the cans with soil
3. Trim the ends of a plant and put in water
4. Place the clipping in the soil
5. Add some more soil
6. Water the plants
7. Measure the height of the can
8. Draw a line
9. Add designs
10. Cut out your new packaging & tape it to your can!
What can you imagine?
What do you want to give to others?

Louise Bonnet
Artist Louise Bonnet joins us from her studio in Los Angeles for a special drawing workshop. Let’s follow along as Louise draws an example of a water drop by playing around wiht light, shadow and her own surreal touch.
MATERIALS
colored pencils
pencil sharpener
eraser
paper
INSTRUCTIONS
Let's draw a water drop!
1. Draw the shape of a drop on a surface and one falling
2. Add light reflection on drops
3. Add a background
4. Shade in the drop
5. Add a shadow
6. Draw around the point of light
7. Add color of reflecting surface
9. Add a background
Monica Bonvicini
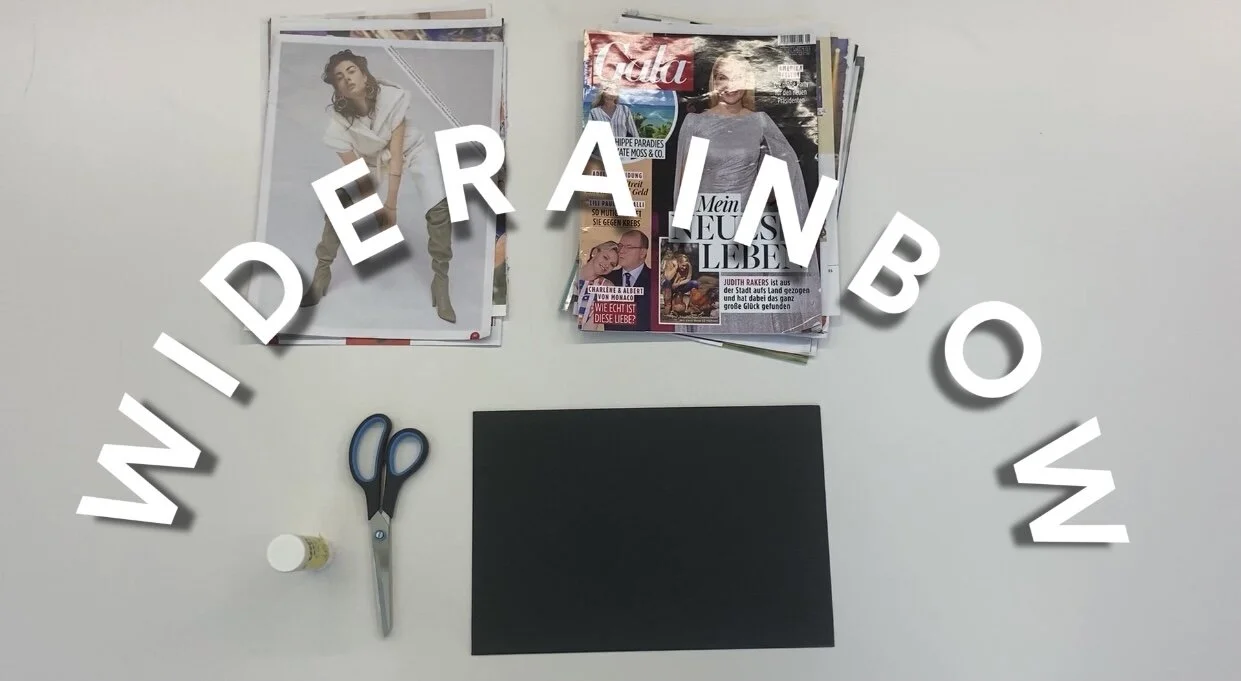
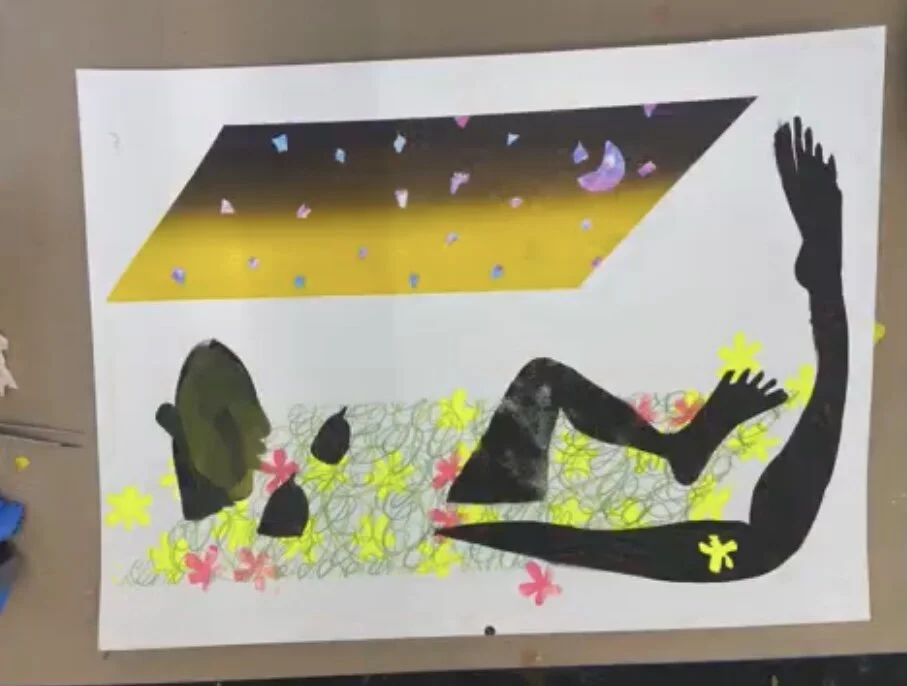
Artist Monica Bonvicini and her wonderful studio invite us to Berlin for a collage workshop inspired by Monica’s 'Legscutout' series. Let's find discarded magazines, cut-out body parts, and create cool conceptual collages that encourage conversation surrounding beauty, diversity, and our own surroundings…
MATERIALS
magazines
newspapers
scissors
paper
glue
INSTRUCTIONS
Let’s make a collage!
1. Go through the magazines
2. Tear out images
3. Cut-out images
4. While arranging, pick the outer form
5. Move cut-outs until you like what you see
6. Fix the cuts with glue
7. Appreciate your self made artwork!

Alli Simon
Meditation & Yoga Instructor Alli Simon joins us from her studio in South LA and guides us through her own practice. Let's all calm our minds, remember a breath, and be present together with each other.
"You belong here."
- Alli Simon
Why we meditate:
To calm our minds
To remember to breathe
To focus on right now
INSTRUCTIONS:
Let's begin our mediation practice.
1. Wiggle into your seat
2. Look around your space
3. Notice what you hear
How are you feeling right now?
4. Take a deep breath in
5. Exhale and close your eyes
What do you hear?
How are you feeling?
What are you thinking?
6. Let your attention rest on your breathing
7. Notice sensations in your body
8.. Slowly breathe in and out
9. Slowly bring your attention back to noticing your breath and body
10. Take 3 deep breaths
11. Bring your hands together over your heart
Offer gratitude for ourselves
For each other
For the practice of slowing down
Being present
♡
Alli regularly leads classes at The Underground Museum, Everybody Gym and The Yetunde Price Resource Center. Outside of facilitating meditation + yoga, she’s Co-founder/Executive Director of South LA Wellness and serves as Board Chair for ProjectQ.
For more free mediation course classes visit Alli’s IG Live: @OMgirlAlli

Michelle Ishikawa & Friends
Today we follow along with floral designer, gardener and plant lover Michelle Ishikawa of the Queens based creative studio Okimoto and take a journey into the world of floristry here in New York City, Brooklyn, and beyond. Let's meet with all the wonderful artists and creatives behind the scenes of each beautiful bouquet while learning about flowers, plants, and "natures art" along the way!
What are the different ways to be a florist?
Some ideas to think about...
flower shops
weddings
flower markets
fashion
nonprofits
grower
studio
account flowers
delivery
restaurants
businesses
"I think it's always important to remember that a big part of making art is just living and observing the world around you so that you have inspiration and things to make art about."
- Michelle Ishikawa
Much love to all of our floral friends featured...
Kim from Hautau & Sons, Roland from J.Rose, Keith Pierpont from Pierpont's Blossom Farm, and Suzanna & her team at Stems Brooklyn. You are all so inspiring!
Special shout out to Dena Kopolovich for filming & edited this special video with Michelle in time for Mother's Day!

Mie Yim
Artist Mie Yim invites us into her studio in the Bronx, NY for a fun pastel workshop with lots of laughs. Let’s follow along with Mie Yim and draw together!
INSTRUCTIONS
Let's draw with pastels!
1. Start making marks and shapes
2. Blend for a softer finish
3. Pencil in sharper lines
4. Spray with a fixative
5. Cover with glassine or wax paper
MATERIALS
pastels
pastel pencils
paper
wet paper towel
glove
fixative spray
glassine or wax paper
“Every drawing is a fresh start.
I always try to surprise myself.”
- Mie Yim

Naama Tsabar
Performance and installation artist Naama Tsabar invites us into her studio in Bushwick, Brooklyn and introduces us to her interactive 'works on felt' while inspiring us to create our own playful sculptures our of paper and string!
MATERIALS
paper
(small and large)
basswood
rulers
(straight-edge and right angle)
measuring tape
x-acto knife
blue tape
thread
sewing needles
pencil
eraser
hot glue gun
pva glue
INSTRUCTIONS
How can a work on paper become sculpture?
Part 1: Playful Studies
1. Thread a needle
2. Use a ruler to mark 2 points on the paper
3. Punch the marked holes with the needle
4. Thread through the entry hole
5. Tape the thread to the back of the paper
6. Thread through the exit hole
7. Pull the thread to create a curve
8. Tape the loose thread to the back of the paper
It's play, it's about exploring. It's not about being perfect.
9. Tape your work to the wall
Part 2: Cutting Sculptures
1. Cut the paper
2. Thread from the back
3. Tape the thread
4. Thread a second point
5. Pull thread to create a "leg"
6. Tape the thread down
7. Tape your work to the wall
Part 3: Final Artwork
1. Cut an L-shape in the corner of the paper
2. Thread upper part of inner corner
3. Tape the thread
4. Thread the lower corner
5. Fix the thread with tape
6. Hang the work on the wall!

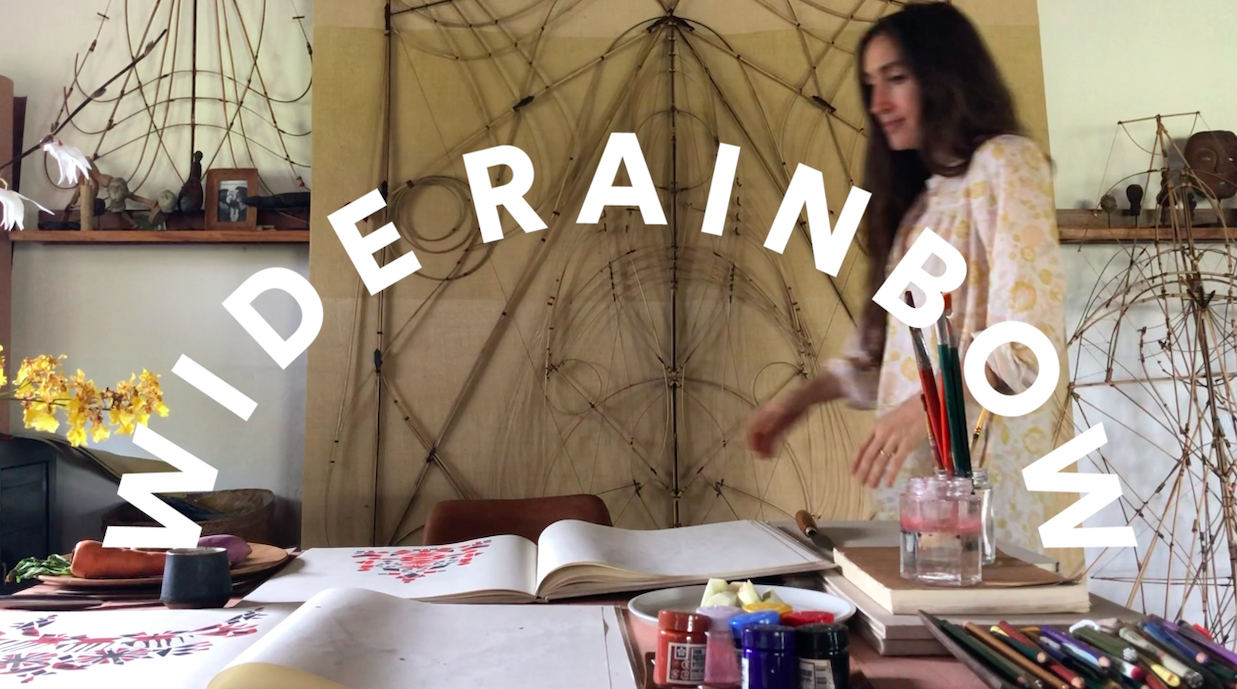
Michelle Stuart
Artist Michelle Stuart has been creating powerful works of art inspired by the environment since the 1960s and is known for her large-scale Earthworks, collage, drawings, photography, and sculpture. Today she joins us for an intimate tour of her studio in Soho, New York sharing a behind-the-scenes look at her decades long practice, connection to nature, and "wonder above all!"
Christina Quarles
Artist Christina Quarles joins us from her studio in Los Angeles and shares a DIY stencil activity using old magazines & painter’s tape. Let’s follow along with Christina as she gives us this special tutorial and we explore new painting techniques together!
MATERIALS
x-acto knife or scissors
painter's tape
magazines
paper plates
sponges
containers of water
paint
colored pencils
sharpies
pens
INSTRUCTIONS
Let’s create DIY stencils!
1. Cut out your stencil from a magazine
2.. Dab & paint with your sponge
3. Play around with different colors
4. Use painter's tape to create a new stencil
5. Paint inside your shape
6. Try new colors & different techniques
7. Get creative with your tape to make shapes
8. Draw with colored pencils
9. Use your magazine to draw a new stencil
10. Remove your tape
11. Experiment and have fun!
Opaque: you can't see through the paint
Transparent: you can see underneath the paint
Gradient: two colors that mix together to form a middle tone, moving from light to dark or vice versa

We are peeling back the layers with this special stencil bonus video ★彡 behind-the-scenes with artist Christina Quarles. Take a look at her process creating large scale stencils in the studio and how she incorporates layers (and layers) of paint into each work of art!
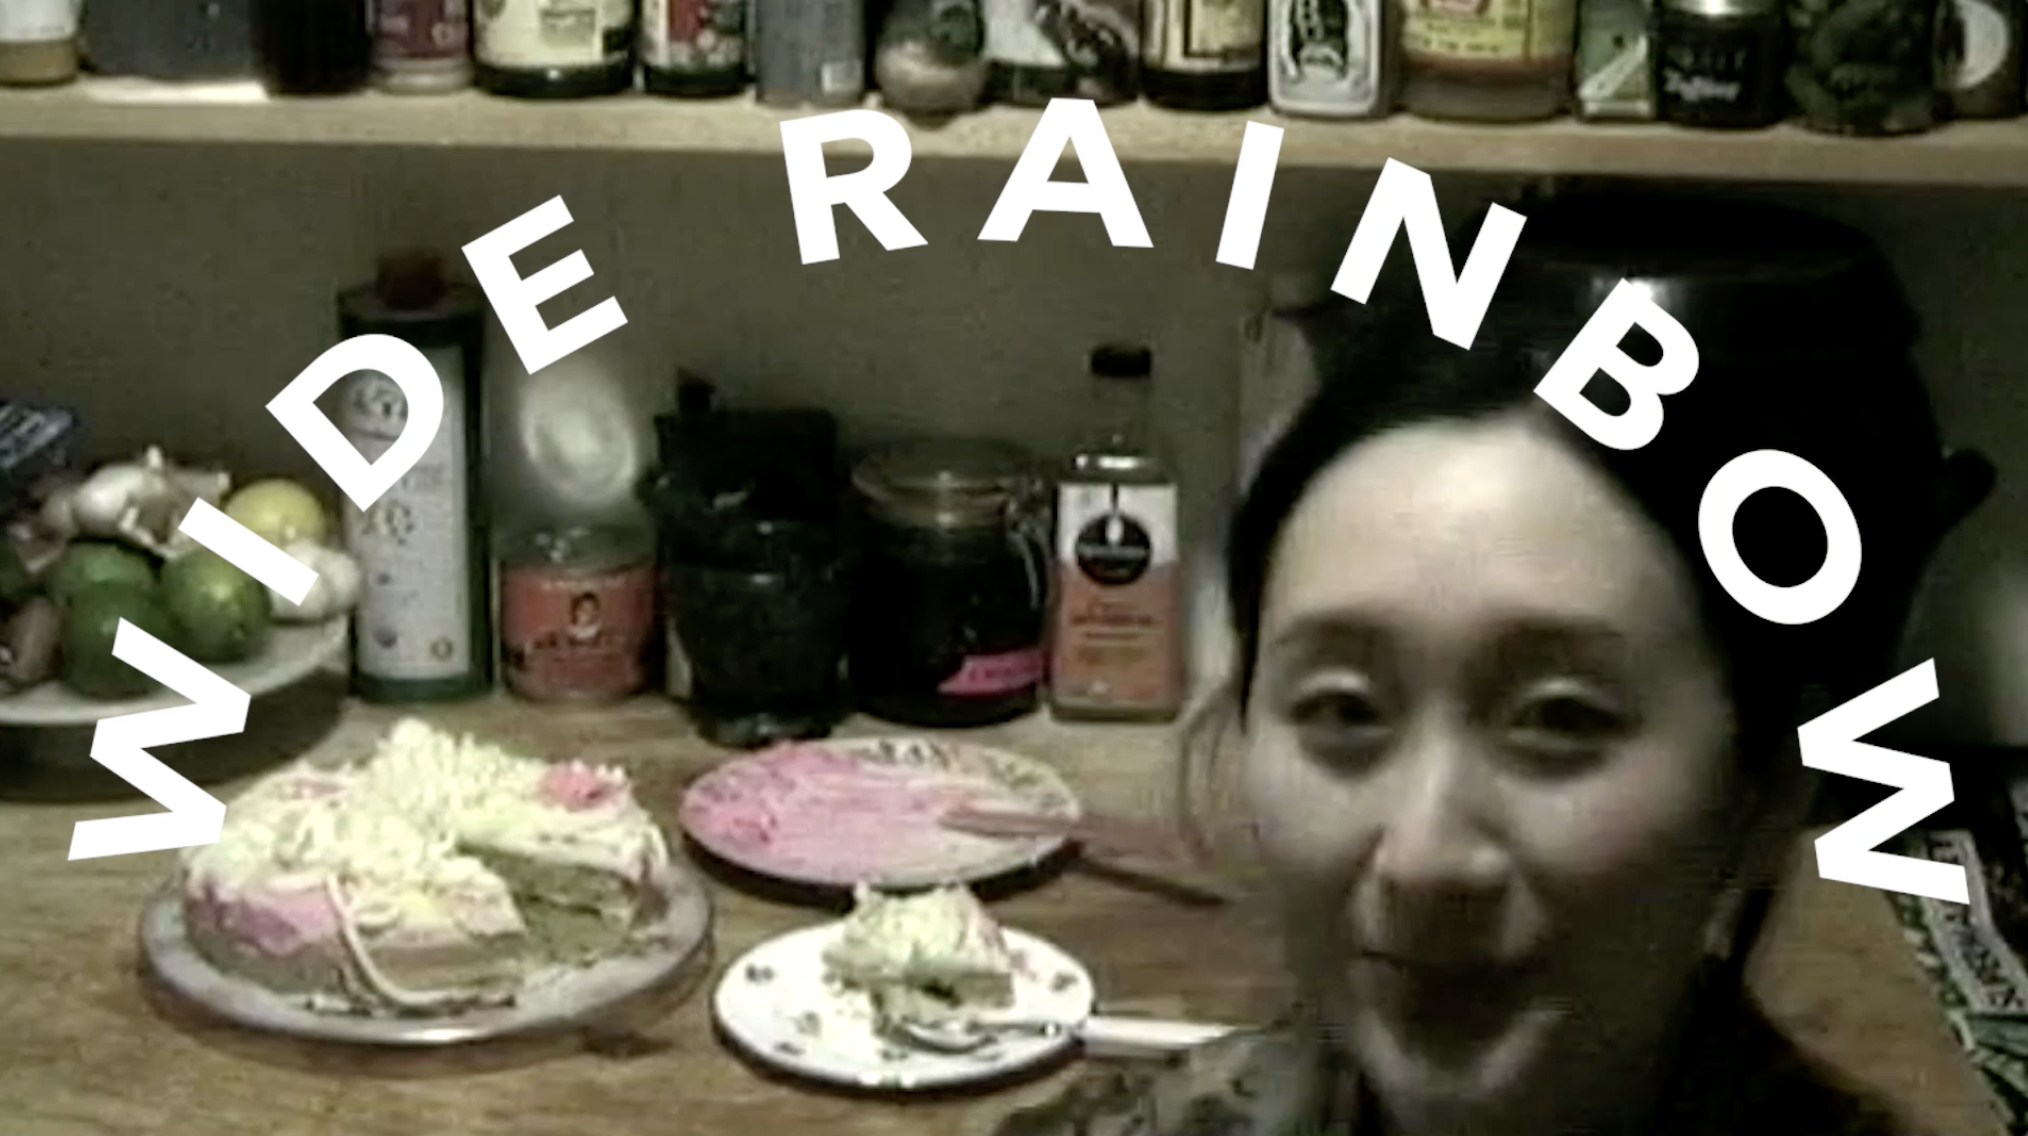
Cafe Forsaken / Moonui Choi
Artist, cook & co-founder of nonprofit Cafe Forsaken Moonui Choi shares a video dairy with us from her kitchen and studio in Brooklyn. We take a behind-the-scenes look at her sourcing, cooking and delivering food to the community. After, she shares a recipe for a yummy gluten-free cake and shows us how to get creative while we decorate it…
MATERIALS
cake
filling
frosting
food coloring
kitchen utensils
piping bag
INSTRUCTIONS
Let's decorate a cake!
Create a base layer of frosting
Add color to the frosting
Decorate the cake
Pipe some squiggles and dots
Enjoy!
MOONUI’S GLUTEN FREE VANILLA CAKE
Cream 230g of unsalted butter together with 230g of granulated sugar
Beat until fluffy and pale
Slowly add-in 4 eggs, one at a time
Add in 1tsp of your choice of extract (vanilla, orange, etc!)
Sift together 230g of gluten free flour, 1tsp salt, 1tsp baking powder, and 1/4tsp xanthan gum/agar agar/cornstarch (whatever you have on hand)
Combine dry mixture with batter.
Gently fold until homogenous.
Bake batter in lines baking tin of choice at 350F for 20min or until top is golden brown and inside is cooked through
Cool, then enjoy!

Anna Pipes
Artist Anna Pipes invites us into her Brooklyn studio to take a look at her collages as inspiration for a special workshop making Valentines!
MATERIALS
recycled cards
scissors
glue (rubber cement)
sparkles
glitter
stickers
doilies
origami paper
swooshes of paint
magazines
old encyclopedias
candy wrappers
museum pamphlets
old children's books
etc.
INSTRUCTIONS
1. Use an old card as a base
2. Cut out words, images and shapes
3. Choose a background paper
4. Paste down & arrange your cut-outs
5. Write a special note & give it to someone you love!

Sandy Davis / Pecas
New York based musician & producer Sandy Davis (aka Pecas) invites us into her studio and teaches us how to record a song with a simple iphone & free garage band app!
MATERIALS
phone
Garageband
headphones
INSTRUCTIONS
Let's make a song!
1. Find the tempo of the song
2. Set the bars
3. Start your beat
4. Record the beat
5. Record vocals
6. Record harmony
7. Add bassline
8. Add some tsh tsh

Esther Choi
Multidisciplinary artist Esther Choi invites us into her Brooklyn studio to create cool sculptures and take photographs of our artworks while we explore different compositions playing with light, form and color!
MATERIALS
4 cups all-purpose flour
1 cup table salt
1 ½ cups water
Parchment paper
Kitchen utensils
Oven-safe molds
Oil
INSTRUCTIONS
Let’s make salt dough!
Part 1:
1. Add & stir flour and salt
2. Add 1 cup water
3. Mix
4.Knead ball for 5 minutes
5. Grease molds
6. Sculpt around molds
7. Put sculpture in the oven at lowest temperature
8. Paint your sculpture
Part 2:
1. Find or create a backdrop
2. Experiment with lighting
3. Play around with compositions
4. Take photos!

Rachel Eulena Williams
Today we have a special weekend edition with artist Rachel Eulena Williams coinciding with the last day of her exhibition here in downtown Manhattan at Canada Gallery. Rachel shares a special mobile making activity inspired by her own practice. Let’s take a virtual walkthrough of her gallery show too!
MATERIALS :
Wire
Scissors
Thumbtack
Pliers
Colorful Cardstock or Paper
INTSRUCTIONS:
1. Make a big circle with your wire
2. Nestle the wires together
3. Pull the wire to create a crossbar
4. Clamp the wire at meeting points
5. Create a hook on top of the wire stem
6. Take the paper & cut out fun shapes
7. Punch holes in the shapes & thread the wire through
8. Add wire shapes to base
9. Decorate your mobile!
Visit 'Tracing Memory' by Rachel Eulena Williams @ Canada Gallery
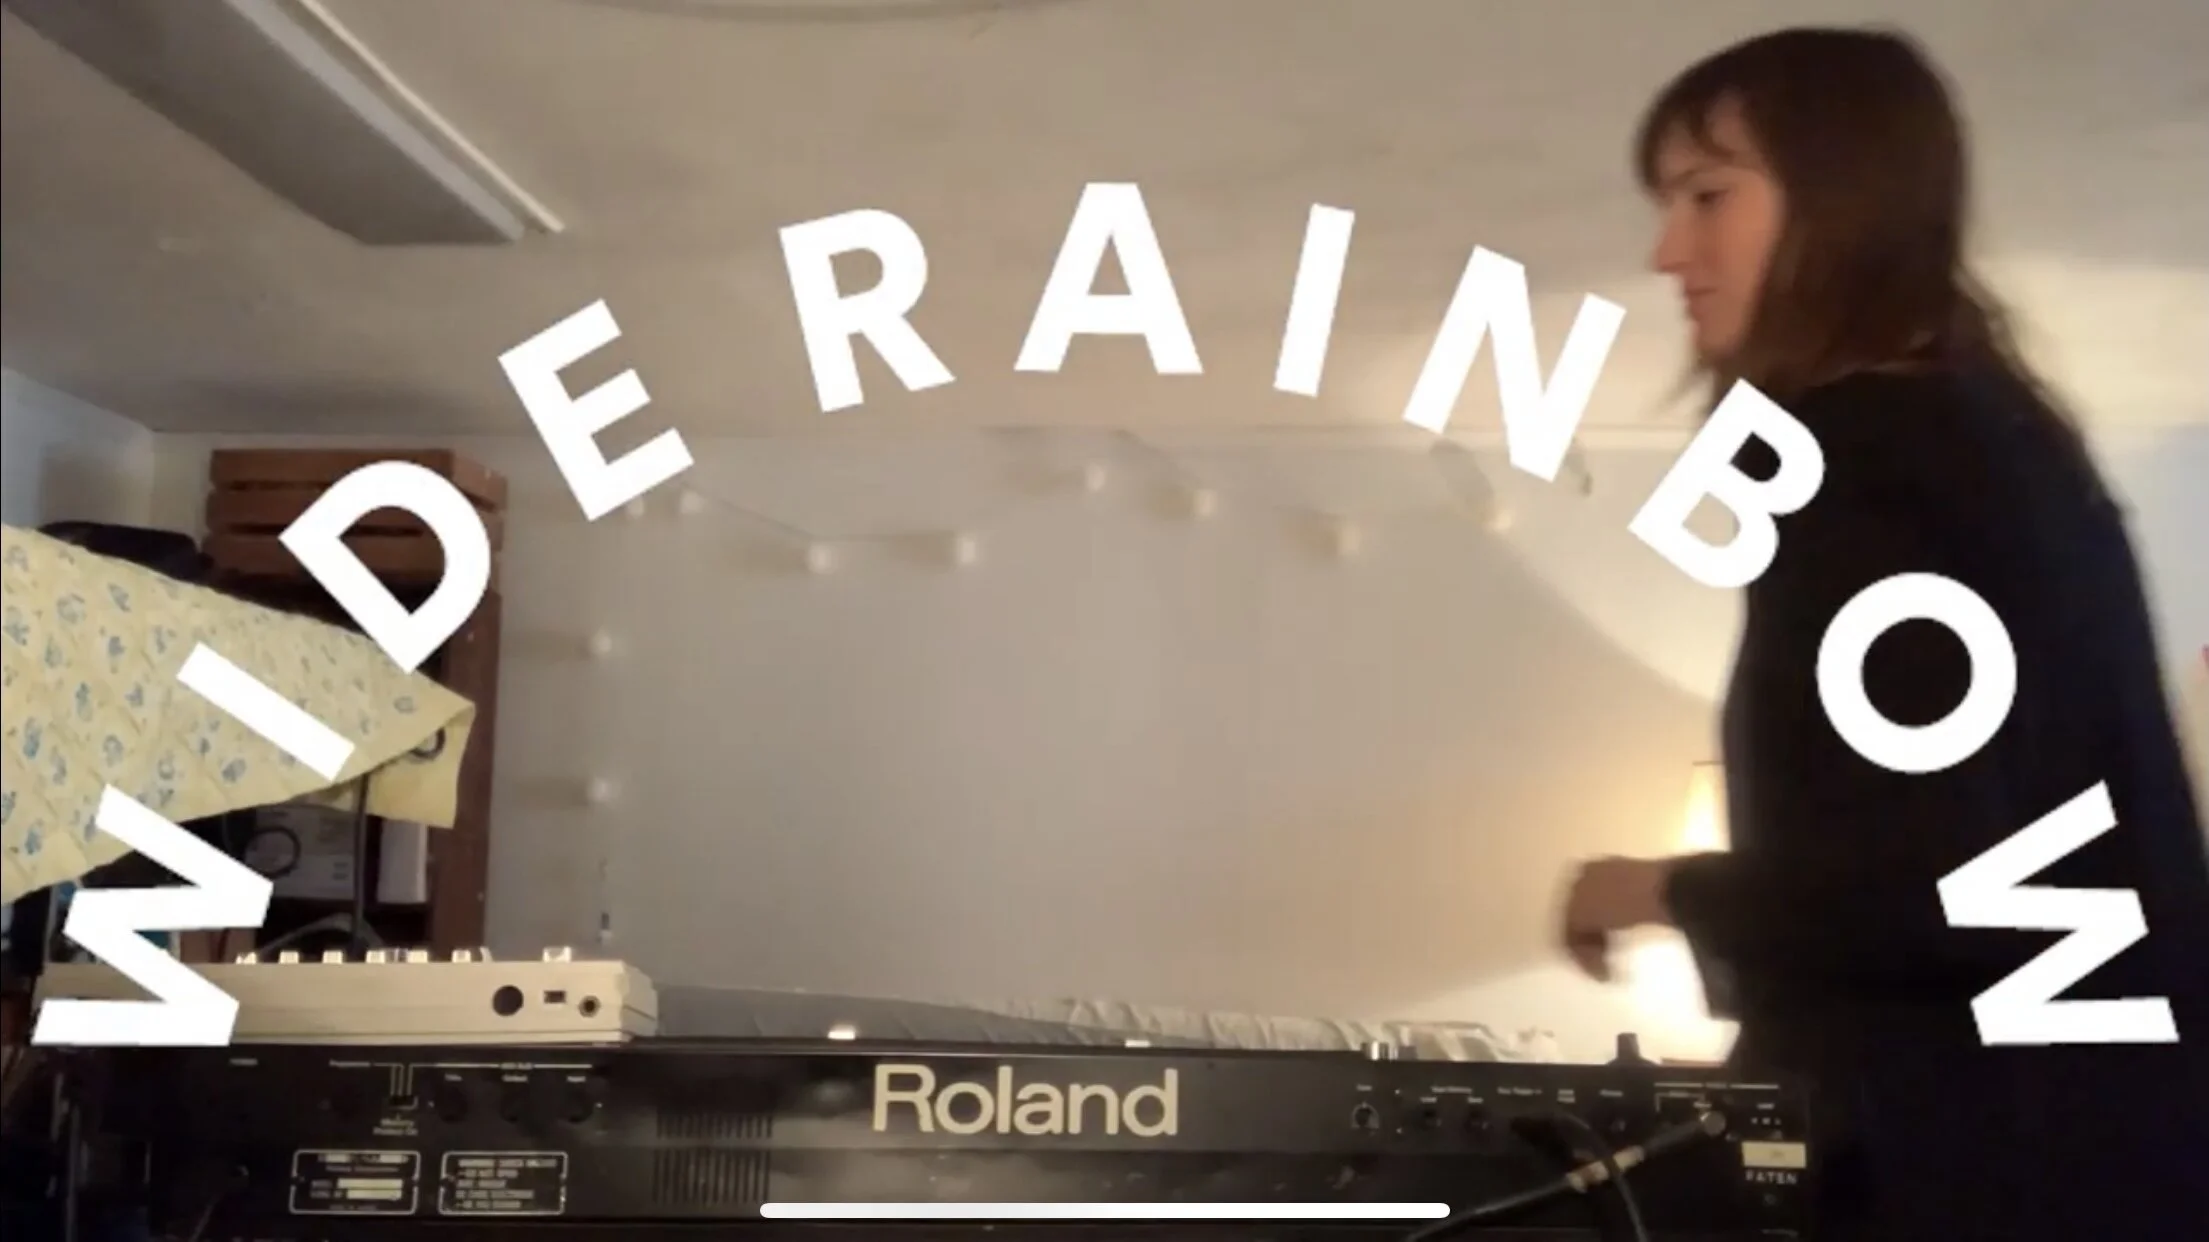
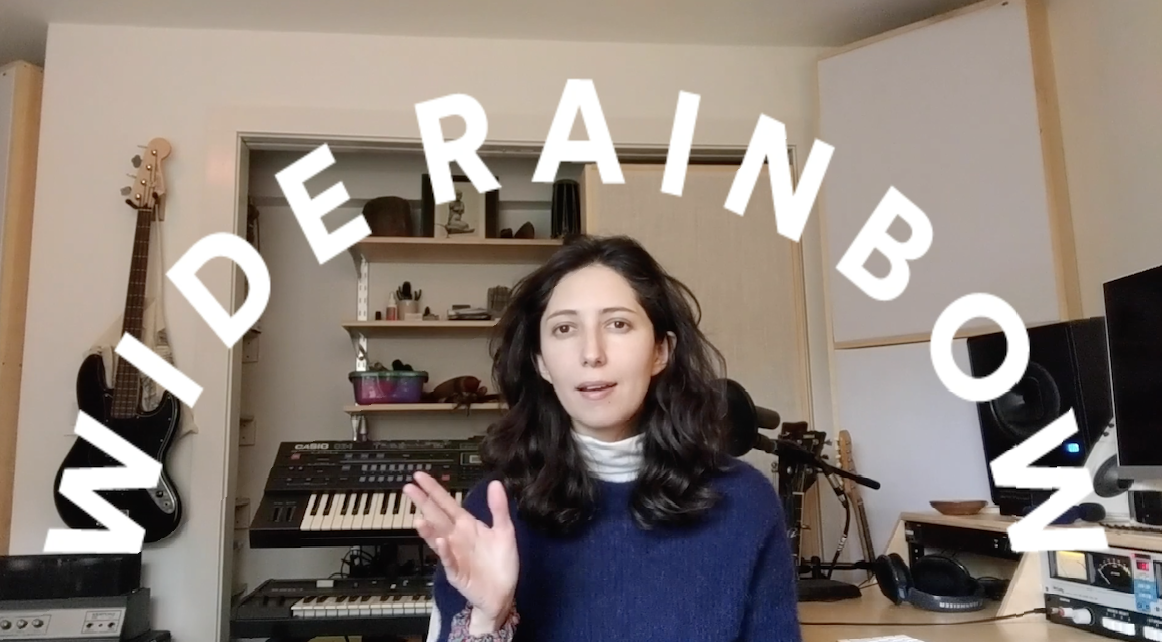
Annie Hart
Musician, Composer & Songwriter Annie Hart invites us into her Brooklyn studio to ring in the New Year with a little synth demo, a drum machine, some fun instruments and a lot of inspiration!
WORKSHOP INSTRUCTIONS:
Let’s follow along with musician Annie Hart’s synth demo and express ourselves through music!
1. Start with a pattern
2. Write a drum part
3. Add other instruments (optional)
4. Get creative!
MATERIALS:
Synthesizer
Drum Machine
Other Instruments (Optional)
“It’s all about, any kind of art, which is playing, enjoying and expressing yourself!” - Annie Hart

Jackie Mendoza
Singer & songwriter Jackie Mendoza invites us into her recording studio in California for a special songwriting workshop. Let’s follow Jackie’s creative process and watch the production of her newly released singled Let U Go just in time for the holidays!
"Let U Go"
I’m trying not to think of you tonight
my eyes are swelling from holding in the waterworks
Works fine for me but I can’t sleep
And if I cry I fear the tears won’t ever stop, ever stop
Let me let you go
Let me let you go
I miss the winter snow
I miss the New York snow
Mistletoe above the door
What’s it there for?
No ones coming over time soon
Don’t wanna catch a deadly cold
This will be a lonely Christmas without her oh without her
Let me let you go
Let me let you go
I miss the winter snow
I miss the New York snow
California dreaming is a nightmare without her
I’ll leave cookies for you out by the fire
Déjame soltarte
Déjame soltarte
Extraño tu sonrisa
Extraño tu calor
California se congela con tu ausencia
Es mi primera navidad sin ti, sin ti, sin ti, sin ti. ~
Released December 16, 2020
all rights reserved
www.jackiemendoza.bandcamp.com

Baseera Khan
Artist Baseera Khan takes us behind-the-scenes for a sneak peak of her TV Pilot 'Blind Faith' that was recently filmed at the Kitchen performing arts theater here in NYC. Let's follow along as Baseera reads her treatment while we explore her experimental film in progress...

Beau Bree Rhee
Artist & choreographer Beau Bree Rhee invites us into her New York City studio to explore her practice through movement and drawing with two fun workshops that channels our creativity while encouraging us to get moving with just a few simple words!
WORKSHOP INSTRUCTIONS:
Let’s join artist & choreographer Beau Bree Rhee for a movement and drawing workshop!
Part 1: Movement
1.Create a phrase with at least 4 words
Ex: Circle, Line, Square, Thread
2. Warm up
3. Use your imagination, close your eyes and think of ways to turn your words into movement or shapes with your body
4. Add more words and more movements to create your own piece of choreography!
Part 2: Drawing
1. Use the same 4 words (or more) from your movement
2. Get creative and draw each word on one piece of paper
3. Use a pencil and paper or any other materials you like (paint, ink, color markers etc)
MATERIALS:
Your Body
Pencil & Paper
Optional: Paint, Ink & Brushes
FOLLOW UP:
What words did you choose? Why?
Did you enjoy the process of turning your words into movements?
Which word was the most challenging to transform into a movement? Which was the easiest? Why?
What changes did you make along the way?
What did you think about your finished movement? How did you feel after you shared (performed) your movement piece?
What do you think a Throughline Practice means?
How did you draw each word?
How different was your drawing from your movement?
Which activity did you prefer the most? Why?
Maria Usbeck
Songwriter & musician Maria Usbeck invites us into her NYC studio and encourages us to go outside, explore and record our own 'field recordings' while giving us a music sampling tutorial so we can create our own interesting beats with everyday sounds.
WORKSHOP INSTRUCTIONS:
Let's go out into the world to record interesting & unusual sounds to layer into music!
1.Take a handheld recorder or phone outside into the world!
2. Listen for unusual sounds and look for interesting textures to make new sounds to record.
Ex: Record the leaves blowing in the wind or your hand breaking a tortilla chip
3. Look around your house to record and discover new sounds too
Ex: Water rushing from the faucet or a saltshaker
4. If you have access to a computer and software like Ableton or Garage Band (Free) upload your favorite recordings
5. Add affects like reverb, synth, chorus etc.
6. You can play around and layer in real instruments too
7. Create a loop and your own beat with all the sounds you collected!
MATERIALS:
Handheld Recorder or iPhone
Found Objects (Sounds)
Access to Computer w/ Ableton or Garageband
FOLLOW UP:
Did you like going outside looking for 'Field Recordings'?
What was the most interesting sound you discovered? What sound most surprised you at home? Why?
Which sounds did you end up working with? If you had access to a computer what effects did you layer on to your sounds or samples?
Did you add any real instruments? What is a loop? What is a beat?
How did you create your own beat with the sounds?
Did you have fun playing around with this process of making music?

Jordan Casteel
Harlem based painter & artist Jordan Casteel invites us into her Bronx studio for a special color mixing tutorial. Let's explore her practice and process in creating her beautiful portraits of friends, family, neighbors and strangers here in NYC!
WORKSHOP INSTRUCTIONS:
Let's mix colors together with artist Jordan Casteel!
1. Choose your colors
2. Mix thoroughly
3. Use your intuition :)
4. Match your colors
5. Start again!
MATERIALS:
paint
gloves
palette
tape
recycled
rags
color samples
your reference
palette knives
FOLLOW UP:
Did you enjoy the process of color mixing?
What colors did you make?
Was it helpful to start with a color sample?
Did you like to mix the colors or match the colors? Why?

Mina Stone
Beloved Chef Mina Stone takes us behind-the-scenes for a tour of her newly reopened restaurant Mina's at MoMA PS1 in Queens, NYC and teaches us how to make a simple olive oil cake from her cookbook : Cooking for Artists
MINA STONE’S
OLIVE OIL CAKE
Ah, olive oil cake. It is the only reason why my friends are friends with me, and why new people start to like me. This recipe creates a cake that is dense, orangey, and spicy with cinnamon and cloves. It’s is not light in the olive oil and that is really the way it should be.
Serves 10-12
3 large eggs
1 1/2 cups extra-virgin olive oil
1 1/4 cups granulated sugar, plus a tablespoon to sprinkle on top
1 1/4 cup of milk
1/4 cup of fresh orange juice + zest of 1 orange
2 cups all-purpose flour
1/2 teaspoon baking soda
1/2 teaspoon baking powder
2 teaspoons ground cinnamon
1/2 teaspoon ground cloves
1 teaspoon salt
Preheat the oven to 350 degrees F. Lightly oil 10-inch round cake pan and dust with flour. Whisk the eggs with the olive oil in a bowl until combined. Add the sugar and whisk well to incorporate. Add the milk, orange juice, and orange zest and whisk again. In a separate large bowl, mix the other dry ingredients (flour, baking soda, baking powder, cinnamon, cloves, and salt), and make a well in the center. Pour the olive oil mixture into the dry ingredients, and whisk, starting from the center and working outward, until the batter is smooth. Pour the batter into the prepared pan and sprinkle another tablespoon of sugar on top. Bake for 50 to 60 minutes. The cake is ready when the top is crusty and dark brown and a skewer or knife inserted in the center comes out clean.
Variations: After the cake has cooled, dust the tile with confectioners sugar and cinnamon. Add 1 cup toasted and chopped walnuts to the batter for a nutty taste and texture.

Kelsey Lu
Musician Kelsey Lu gives an inspiring and uplifting performance to celebrate our Wide Rainbow Community and the end of the 2019/2020 school year.
Louise Despont
Bali based artist Louise Despont invites us into her studio in Indonesia to teach us how to make stamps and beautiful geometric prints out of vegetables.
WORKSHOP INSTRUCTIONS:
Let’s make prints using vegetables!
WORKSHOP:
Gather your vegetables. You can use carrots, potatoes, radishes or any root vegetables
Using a carving utensil, cut vegetables into halves and carve out shapes. They can be geometric shapes or organic shapes
Using a brush, mix up your paint colors. Make sure the paint is not too thick or too watery
Organize your station with your paper in front of you, your vegetable stamps and mixed paint colors
Using a paintbrush, coat the paint onto the carved face of the vegetable stamp. Stamp once on a test paper to remove excess water
Coat the paint onto the carved face of the vegetable and begin stamping your paper
Create your own print using multiple vegetable stamps and colors
MATERIALS:
root vegetables
carving utensil
paint
brushes
plate for mixing
paper
FOLLOW UP:
What vegetables did you carve?
Did you carve geometric shapes or organic shapes?
What colors did you choose for your print?
What shapes did you create while printing?
Did you make your print symmetrical or freeform? Why?

Emma Soucek
New York based artist Emma Soucek invites us into her childhood home in Maine to teach us how to make paper pulp collages.
WORKSHOP INSTRUCTIONS:
1. Tear or, using scissors, cut out images that inspire you from newspapers, books or drawings
2. Arrange your images onto a window screen or glue images onto a cardboard base
3. Make your paper pulp
Fill a blender 1/3 to 1/2 full of water
Tear up construction paper and cut into small strips to make it easy to blend
Add in some glue - Blend until the mixture is the consistency of oatmeal
Pour your paper pulp into a container
Repeat with different color papers
4. Press paper pulp around the images on your base
5. Continue to create designs using different colors of the paper pulp until your base is covered
6. Let dry for 24 hours. If you used a window screen as your base, press gently on the back to pop out the dry collage from the screen
MATERIALS:
construction
paper
glue
scissors
window screen or cardboard
containers
blender
collage materials
FOLLOW UP:
What world were you inspired to create using images and paper pulp?
What colors did you blend together? Did they make new colors?
How did the paper pulp feel while you were working with it? What was the texture?

Love Uffot
Creative Director & Producer Love Uffot invites us to participate in a self-healing creative writing workshop.
WORKSHOP INSTRUCTIONS:
Let’s take a moment to heal w/ some breathwork and creative writing
Curate a playlist to create a vibe or mood for yourself
Before any writing process take a moment to engage in Yin Yoga
Yin Yoga is a 5 minute stretching exercise to help let go of the weight on your heart and shoulders
Take a moment to breathe and relax
Start writing down your thoughts, ideas, inhibitions, details of your environment
Do this just for yourself
Keep going, don’t stop
Remember your heart, your chest, your shoulders
Let go of the things that are weighing you down
MATERIALS:
pen
journal
music
FOLLOW UP:
What is going on in your body & mind?
What anxieties and triggers are forming in your body?
Where do you feel them?
After the breathing and stretching exercise, do you feel a physical difference?
After writing in your journal, do you think some weight has been lifted from your mind and body?

Sofia Leiby
Berlin based artist Sofia Leiby invites us into her studio in Germany to speak about what inspires her and to give us an intimate look at what she has been creating.

Claire Christerson
Artist Claire Christerson invites us into their home in Brooklyn for a special studio visit w/ hand-made postcard activity that we can share with our friends & family.
WORKSHOP INSTRUCTIONS:
Let's make handmade postcards!
Cut out any shape (it doesn’t just need to be a rectangle) from recycled paper
Decorate one side with markers, pens and crayons
Create a line for name & address on the other side
Make sure you have an empty space to add a stamp
Mail it to your best friend, family member or someone special
MATERIALS:
recycled paper
markers
pen
crayon
stamp
FOLLOW UP:
Who are you writing to? Why?
Were you inspired by Claire’s studio visit and artworks?
What do you think mail art is?
Have you ever made a postcard before or mailed it?
Do you like the idea of creating something special and unique for someone to receive in the mail?
What do you think you will receive back?
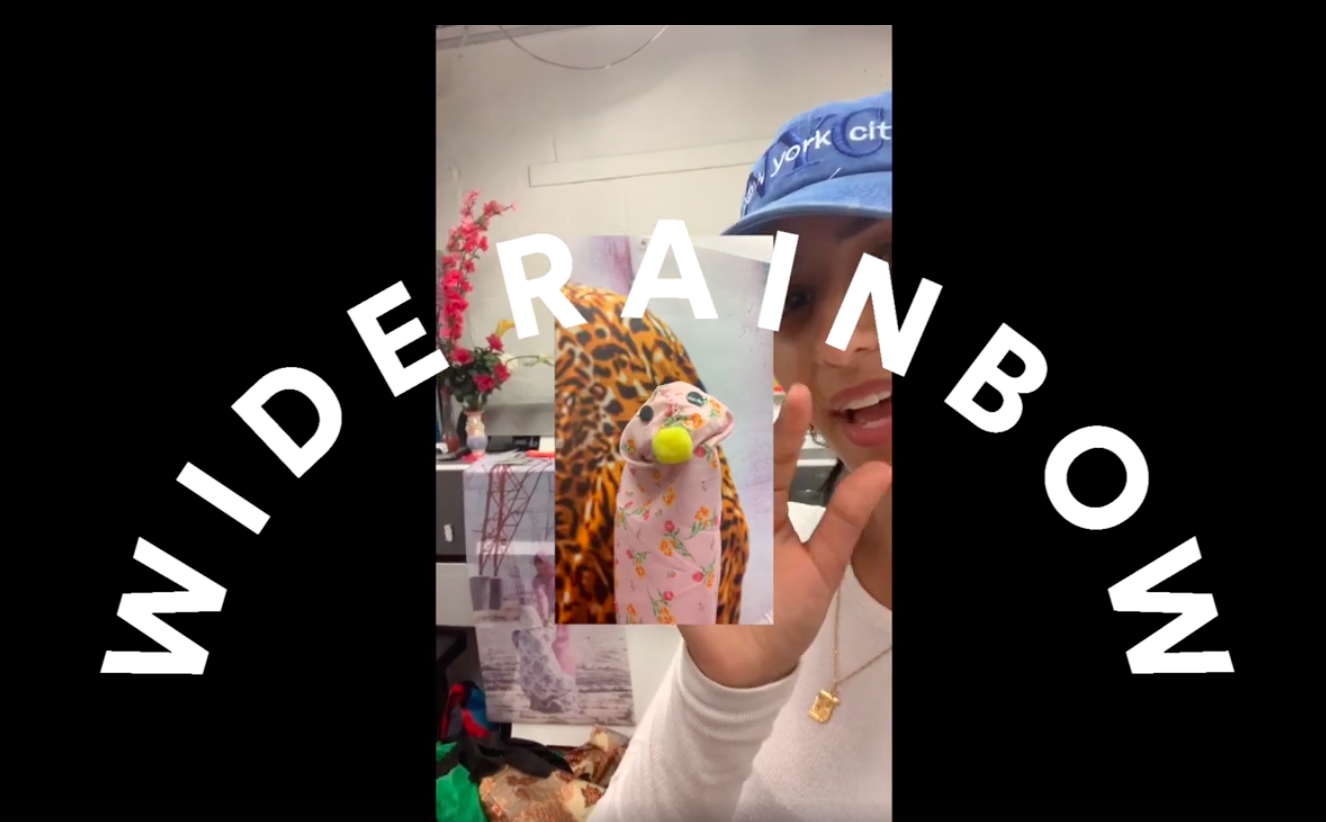
Farah Al Qasimi
New York based artist Farah Al Qasimi invites us into her Brooklyn studio and shows us how to make hand puppets!
WORKSHOP INSTRUCTIONS:
Let’s make a hand puppet!
First cut out a circle out of cardboard for the mouth and fold in half
Trace around the cardboard and cut out a circle on felt
Stick them together with glue
Cut out a 12 x 16” piece of fabric
Fold the wide seam down by 4”
Cut out a semi circle, and when opened should fit the mouth
Glue the felt side of the circle onto the hole in the fabric
Cut out a loose M shape above the mouth (for a snout!)
Wrap the fabric around, and with the cardboard circle facing out, align the seams of the rectangular fabric
Sew the seams together using thread and needle
When seam is sewn all the way to the snout, flip the puppet inside out
Add any characteristics to your puppet - add a nose, eyes, eyelashes, dimples, make up, hair
Think about who this puppet is, and what their personalities and characters are.
Play!
MATERIALS:
recycled fabric (12 x 16”)
cardboard box
felt
hot glue gun
scissors
buttons
thread
needle
markers
FOLLOW UP:
What is the character of your puppet?
If you made more than one puppet, are these puppets friends? Family? Classmates?
Can you create a fun scenario for your friends and family?

Tamara Edwards
Meditation & Wellness Instructor Tamara Edwards invites us back to the jungle in Costa Rica for a relaxing 5 minute meditation.

Carmen Winant
Join us as we explore artist Carmen Winant 's studio in Columbus, Ohio where she gives us an intimate tour and insight into her process of art making with found images.

Emma Kirby
SHoP Architects artist Emma Kirby invites us into her New York City home to create imaginary buildings with recycled materials.
WORKSHOP INSTRUCTIONS:
Let’s make buildings from recycled materials!
Collect recycled materials from your home
2. Imagine and brainstorm what type of building you would like to create
Start putting together recycled boxes, papers, miscellaneous objects with your glue gun
Use watercolor or markers to decorate, you can add windows and textures
Think about where this building exists and who lives in the building
If you are inspired to, you can create a story, play or poem related to the building you created
MATERIALS:
recycled materials
cardboard box
paper bag
toilet paper tube
watercolor
brush
glue gun
buttons
scissors
markers
FOLLOW UP:
What type of building did you create?
Is it imaginary or based on something that already exists?
If you built more than one structure, how do they exist together in the space?
Would you live in this building and why?

Dena Yago
New York City based artist Dena Yago invites us into her home Upstate New York for a natural dye workshop with onion skins!
WORKSHOP INSTRUCTIONS:
Let’s learn how to natural dye with onion skins!
Save up your onion skins in a quart size container
Fill a large pot of water halfway and bring to an almost boil
Put onion skins into the pot and let boil for 1 hour
In a separate pot place fabric or garments into warm water
Let the fabrics soak for 1-2 minutes
Once the onion skins have boiled for an hour, take the onion skins out
You can tie up your fabric if you want to create a tie-dye look
Place the wet fabrics into the onion skin dye
Let sit for 10-30 minutes
Take your fabrics out and hang to dry
* For a pinker dye, use red onion skins!
* For a yellow/rusty dye, use yellow onion skins!
MATERIALS:
left over onion skins
fabric or clothing
large pot
big spoon
string
water
FOLLOW UP:
How many meals did it take you to fill up a quart size container with onion skins?
What kind of garments did you dye?
Using waste to make art is a resourceful way of creating! What else can you save to make art?

Sarah Nsikak
New York City based textile artist Sarah Nsikak invites us into her home and studio in Brooklyn to teach us how to mend and bring new life to our old garments.
WORKSHOP INSTRUCTIONS:
Let’s bring well loved garments back to life!
Find a piece of clothing that has a tear or needs some love
Measure the tear or hole in your garment
Cut out a piece of fabric with that measurement
Flip your garment inside out
Using a running stitch, sew along the edges of the fabric onto your garment
Flip your garment outside in
Using a whipstitch, sew the frays of the tear onto your new patch
MATERIALS:
needle
threads
fabric
scissors
clothes that need love
FOLLOW UP:
Which of your garments have the most tears and holes?
Did you get creative with colorful thread and cool fabrics?
If we are able to mend more clothes, what will we be saving?

Breckyn Drescher
New York City based dancer and choreographer Breckyn Drescher invites us into her home to teach us how to choreograph a fun & intuitive Modern dance composition.
WORKSHOP INSTRUCTIONS:
Let’s dance and create our own moves!
WARM UP:
Make circular movements
Make shaking movements
Use your eyes, take note of the objects in your environment
FIRST GAME:
Create dance moves using a dice or a deck of cards
Choreograph a movement phrase using numbers and colors from your dice or cards
SECOND GAME:
Create dance moves with an obstacle course made with your household objects
Choreograph a movement phrase using these objects
Record your movements on video to check your movements
MATERIALS:
notebook
pen
camera or phone
music
costume (not necessary but fun!)
household objects
dice or deck of cards
FOLLOW UP:
What household objects did you choose to use?
What kind of ‘pedestrian movements’ did you choose?
And what kind of ‘abstract movements’ did you choose?

Joanne Greenbaum
NYC based artist Joanne Greenbaum invites us into her studio in Long Island to show us what she's been working on during the quarantine.

Emma Kohlmann & Charlotte Kohlmann
Artists (and sisters) Emma & Charlotte Kohlmann invite us into their home in Massachusetts for a whimsical DIY workshop creating colorful creatures, puppets and a stage for us to let our imaginations run wild!
WORKSHOP INSTRUCTIONS:
Let’s make paper puppets and a stage to play with!
To make your puppets:
Draw any character onto your paper
Add colors and details to your character
Cut the paper character with a pair of scissors
Tape a skewer or chopstick to the back of your paper puppet
Create more than one puppet and your puppets are ready to play!
To make your stage:
Find a recycled cardboard box
Cut 5 pieces of cardboard - 1 long piece for the top, 2 side medium pieces, and 2 smaller pieces
Cut incisions to the bottom of your two sides and to the top of the two smaller pieces
Connect the smaller pieces to fit onto the sides so they can stand alone
Finally add the long piece to connect the two sides with tape
Decorate your stage with markers and crayons!
MATERIALS:
construction paper or copy paper or sketchbook paper
cardboard box
crayons
markers
scissors
tape
skewers or chopsticks or straws
CHECK IN QUESTIONS:
How many puppets did you make?
What are their names and characteristics?
Can you create a scene using your stage?

Jen Shear
LA based artist Jen Shear shares with us an intimate video diary of her artwork and studio practice.
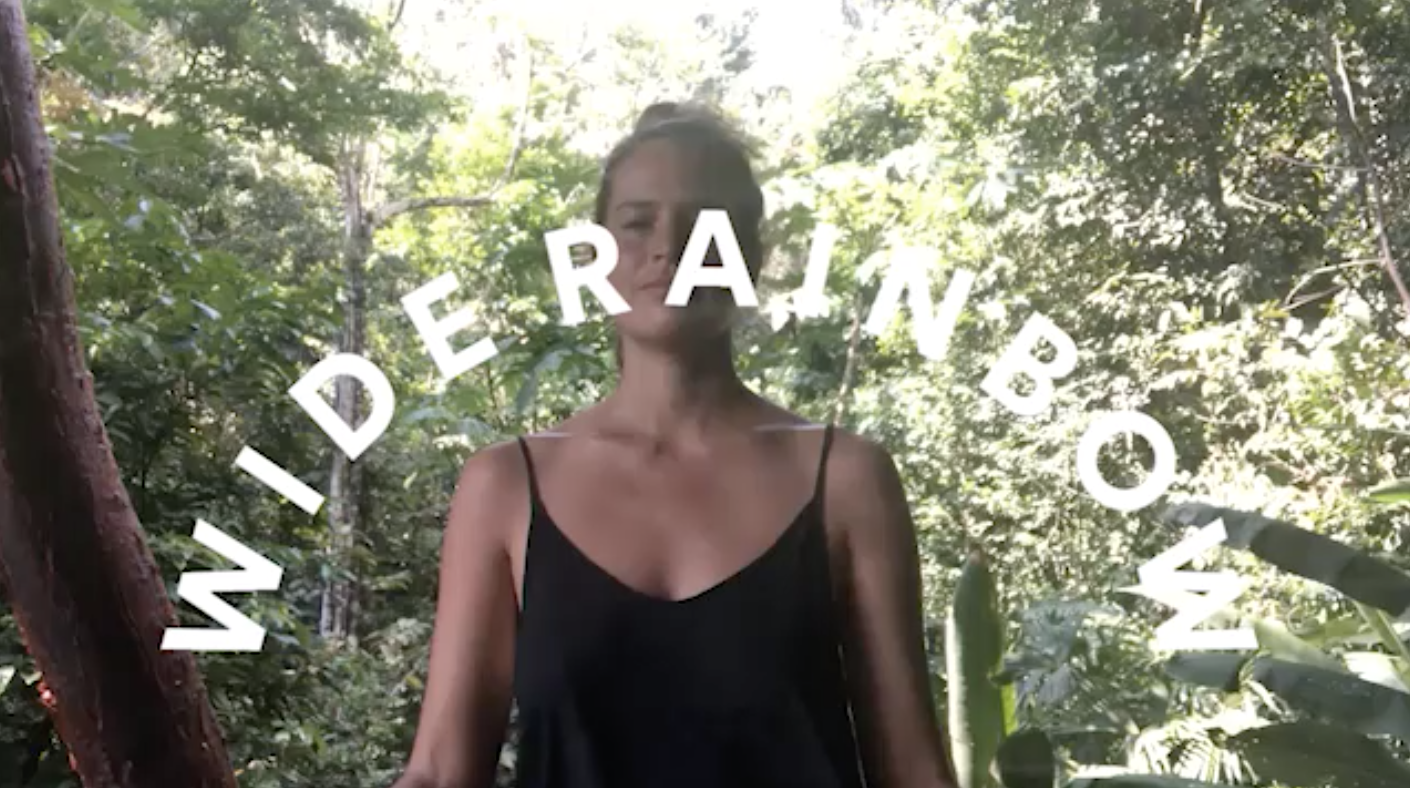
Tamara Edwards
Meditation & Wellness Instructor Tamara Edwards invites us to the jungle in Costa Rica for a peaceful meditation as part of our Wide Rainbow Wellness programming.
WORKSHOP INSTRUCTIONS:
Let’s all find a comfortable seat, take a deep breath, and listen to the sounds of the jungle together during this very special meditation with Tamara.

Susan Cianciolo
Susan Cianciolo invites us into her home and studio in New York to show us how to make a fun and unconventional quilt.
WORKSHOP INSTRUCTIONS:
Let’s make an unconventional quilt from recycled materials!
Put the fabrics together and pin them into place to make your base quilt
Cut up construction paper or any recycled papers into interesting shapes
With a needle and thread, sew the interesting shapes into the quilt. You can glue them on, too
Sketch nature that is most accessible for you – a tree, a flower or the sky!
What kind of recycled materials did you find in your home to use for your quilt?
What kind of nature did you find for you to sketch?
How will you use your quilt? Will it be hung like a painting or used as part of your bedding?

Jennie Jieun Lee
Jennie Jieun Lee invites us to her studio upstate New York for a tour and DIY art activity inspired by her own sculptures made with everyday household materials.
WORKSHOP INSTRUCTIONS:
Let’s make a sculpture out of self-hardening clay (DOUGH) !
Mix 4 cups of flour with 1 1/2 cups of Salt into a bowl
Add water to the mix and start kneading the dough until it feels like soft clay
Hand build a small sculpture out of the dough
Let it sit on a flat surface and dry for 1 or 2 days
Decorate and color your sculpture with paints and markers
MATERIALS:
4 cups of flour
1 1/2 cups of salt
bowl
water
paint
brushes
markers
CHECK IN QUESTIONS:
What type of sculpture did you create?
By adding color did your sculpture change?

Alexandra Jacob
Alexandra Jacob invites us into her New York City apartment for an introduction to beginners ballet and an informal DIY workshop video to get us all moving.
WORKSHOP INSTRUCTIONS:
Let’s learn basic ballet!
Wear comfortable clothes and socks
Find a sturdy furniture or wall to balance on
Follow the warm up stretches
Follow Alexandra’s directions for each ballet movements!
MATERIALS:
comfortable clothes
socks
sturdy furniture or wall
music
CHECK IN QUESTIONS:
How does your body feel after the workshop?
Does this workshop make you want to learn more about ballet?
As Alexandra says, ballet is all about the turn-out, how does this change your posture?